Select your language
Social Dude
Sanding Parquet Floors: A Specialised Approach to Elegance

Are you looking to enhance the elegance and beauty of your space? Look no further than sanding your parquet floors. Parquet flooring, with its intricate patterns and timeless appeal, adds a touch of sophistication to any room.
This blog post will explore the importance of floor sanding Melbourne parquet floors and provide a step-by-step guide to help you achieve polished results.
So, let's dive in and discover the secrets to maintaining and restoring the elegance of your parquet floors.
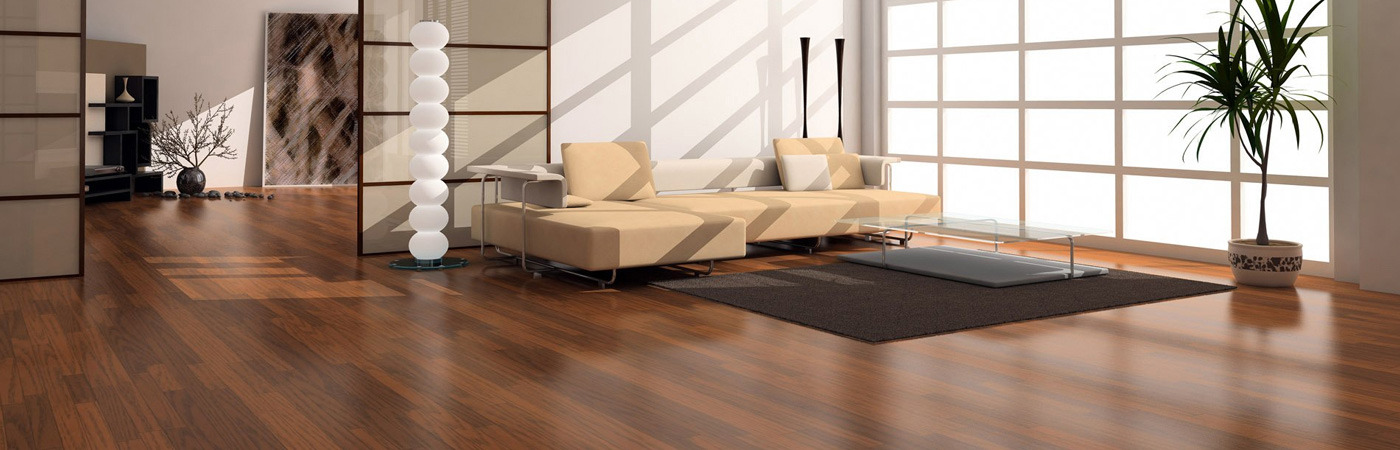
Understanding Parquet Flooring:Parquet flooring is a hardwood flooring composed of small wooden blocks arranged in a geometric pattern. This style of flooring has been around for centuries and has remained popular due to its unique combination of aesthetics and durability. Parquet floors offer a more intricate and visually appealing look, unlike traditional hardwood floors, making them a popular choice for high-end homes, hotels, and other luxurious spaces.
The durability of parquet floors is another crucial factor that makes them highly sought after. The interlocking pattern of the wooden blocks provides added stability and strength, ensuring that your floors can withstand heavy foot traffic and daily wear and tear.
Signs That Your Parquet Floors Need Sanding:Over time, even the most well-maintained parquet floors can show signs of wear and tear. Scratches, dullness, and an uneven appearance indicate that your floors need sanding. Regular maintenance is essential to preserve the elegance of your parquet floors. By floor sanding Melbourne the surface, you can remove the top layer of finish and imperfections, revealing a fresh and smooth surface underneath.
Sanding also helps to restore the original shine and vibrancy of your floors. Ignoring these signs and neglecting to sand your parquet floors can lead to further damage and diminish the overall charm of your space.
Before diving into the floor sanding Melbourne process, gathering the necessary tools and preparing the area properly is essential. Here are some key steps to follow:
1. Gathering the Necessary Tools:You will need a few essential tools to achieve the best results, including a drum sander, edge sander, vacuum cleaner, and sandpaper of various grits. While it is possible to purchase these tools, renting or hiring professional equipment is often more cost-effective. Professional-grade tools ensure a more efficient and effective sanding process.
2. Clearing the Area:Removing all furniture, rugs, and other obstacles from the room is essential to avoid any hindrances during the sanding process. This will allow you to move freely and access all areas of the floor. Additionally, it is recommended to cover nearby items with protective sheets to prevent dust accumulation.
Step-by-Step Guide to Sanding Parquet Floors:Now that you have prepared the area and gathered the necessary tools, let's dive into the step-by-step process of sanding parquet floors:
1. Inspecting and Repairing Damaged Areas:Before sanding, carefully inspect your parquet floors for any loose or damaged pieces. Secure loose tiles and replace damaged ones to ensure a stable and even surface.
2. Coarse Sanding:Coarse sanding is the first step in the sanding process. It involves using a drum sander to remove the old finish, scratches, and imperfections from the surface. It is essential to follow the manufacturer's instructions for the drum sander and wear protective gear, such as goggles and a mask, to ensure safety.
3. Edge Sanding:Once the coarse sanding is complete, it is time to tackle the corners and edges the drum sander cannot reach. This is where an edge sander comes in. Be cautious while using the edge sander to achieve consistent results without causing damage to adjacent areas.
4. Fine Sanding:After the coarse and edge sanding, it is time to move on to fine sanding. This step involves using a finer grit sandpaper or a floor polisher to achieve a smooth and uniform surface. Take your time and work methodically to ensure that all areas are evenly sanded.
Cleaning Up and Finishing Touches:Now that the sanding process is complete cleaning up the accumulated dust and debris is essential. Use a vacuum cleaner or a damp cloth to remove all the dust from the sanded floor. Once the floor is clean and dry, you can consider applying a protective finish, such as varnish or oil, to enhance the natural beauty and durability of the parquet. Follow the manufacturer's instructions and allow sufficient drying time before moving furniture back into the room.
Sanding parquet floors is a specialised approach to maintaining and restoring the elegance of your space. You can achieve polished and stunning results by following the step-by-step guide outlined in this blog post. Regularly inspect and maintain your parquet floors to ensure their longevity and beauty. Sanding removes imperfections and reveals the natural vibrancy and charm of your parquet floors. So, embrace the transformative power of floor sanding Melbourne and let your parquet floors shine with elegance.
Comments